NYC Travel Tips: 21 Things to Know Before Visiting New York
This site contains affiliate links, which means that we may earn a small commission, at no cost to you, for qualifying purchases. It supports the work that goes into keeping this content free. Thanks for reading! More info: Privacy Policy.
Visiting New York City for the first time and not sure where to start? These NYC travel tips will help you plan smarter, avoid common mistakes, and make the most of your time and budget.
Planning a visit to New York can feel overwhelming. The city is huge, the list of things to see is endless, and knowing what to expect makes a big difference.
We’ve visited New York multiple times — both with friends and as a family — and this guide is based on those trips and recent updates. Below, you’ll find practical advice on how to plan your visit, where to stay, how to get around, and what to arrange in advance, so you can truly make the most of your trip to New York City.

Here are our NYC travel tips for first-time visitors to New York:
1. Don’t Overpack Your Itinerary
One of the most important New York travel tips for first-time visitors is simple: be realistic about what you can fit into your time in the city.
New York City has so much to offer that planning your first visit can get truly overwhelming. Which sights should you visit? Which ones can you skip? Which experiences are actually worth your time and money? And how on earth can you see it all?
Here’s the truth: there’s simply no way to see everything NYC has to offer – not in a few days, not in a week, not even in a month. Trying to squeeze in five or six major attractions per day will only leave you exhausted and frustrated. Don’t forget that you need to factor in time to get between places, find an entrance, security checks, bathroom breaks, coffee stops, and lunch. All this can eat up a lot of your time.
It’s much better to visit fewer attractions and actually enjoy them, rather than spend the whole day rushing. (The exception would be if you only have 1–2 days in New York and just want to quickly see, rather than visit, some of the main landmarks.)
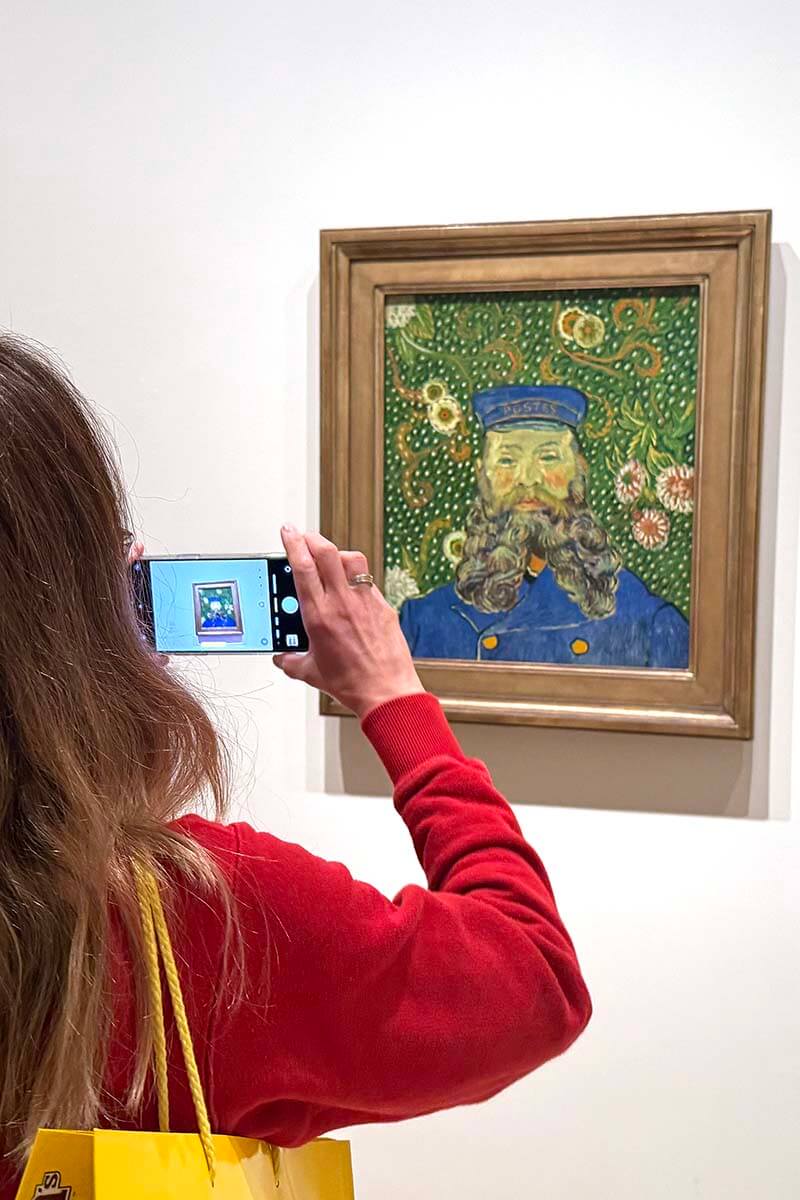
For example, if you’re visiting any major museum, like the 9/11 Museum, MoMA, or The Met, give yourself at least two hours. Also, avoid planning multiple museums in one day. Slow walking through exhibitions might seem easy, but it can really take a toll on your back and feet. You’ll find more tips on planning your time further down.
READ ALSO: 1 Day NYC Itinerary & 2 Days NYC Itinerary

2. Use City Passes to Save on Attractions
No trip to New York would be complete without visiting some of its most famous sights, like the Empire State Building, Top of the Rock, or the Statue of Liberty. But once you start planning, you’ll quickly realize just how expensive this city is. Most museum tickets start around $25–30, and even the cheapest off-peak entry to observation decks will cost you at least $40–50 per person.
That’s why I highly recommend getting a multi-attraction pass. If you’re traveling to NYC for the first time, a city pass can save you a lot of money and make planning your itinerary much easier.
TIP: Make a quick list of the main attractions you want to visit, then compare what each pass includes. Some passes are better for longer stays, while others are great if you’re visiting 2–3 sights in one day.
PRO TIP: If you want to visit a few top sights in a relaxed way, an attraction-based New York Explorer Pass usually offers the best value. But if you want to see as many sights as possible in a short time, a day-based option like the All-Inclusive New York Pass® can work out better. For a detailed comparison and tips on choosing the right one, see our full guide below.
LEARN MORE: Best NYC Passes Compared
3. Stay in Midtown Manhattan
If it’s your first time in NYC and you’re traveling to New York for sightseeing, I recommend staying in Manhattan, more specifically Midtown Manhattan (south of Central Park and north of Union Square). You’ll be close to most major sights, and won’t have to waste time commuting in and out of the city each day.
Neighborhoods like Lower Manhattan, the Upper West Side, or even parts of Brooklyn (like DUMBO) can also be good options, depending on your budget. Just make sure you’re near a train/subway station with direct connections to the main areas in Manhattan!
Hotels in Manhattan can be pricey, but the time and energy you save by staying central is more than worth it, especially if you only have a few days and want to make the most of your trip.
PRO TIP: Book your hotel as soon as you know your dates – prices in NYC can jump fast, especially during busy seasons. On one of our trips, the same hotel doubled in price just a few weeks later.
Where we stayed: We’ve once stayed at Fairfield Inn & Suites by Marriott Penn Station (good value, spacious rooms, breakfast included), once at Virgin Hotels New York City (more upscale and stylish), and most recently at Fairfield Inn & Suites by Marriott Manhattan/Times Square South (good value, breakfast included). All have great locations in Midtown Manhattan, and I’d stay again at any of them without hesitation.
There are many other excellent options, too, but prices vary widely depending on your travel period, room types, how long in advance you book, etc., so do some research to find the best option for your trip.
TIP: Using the map below, you can compare hotels, apartments, and other accommodations in Manhattan. Simply insert your travel dates and group size, and you’ll see the best deals for your stay. Check it out and for the best deals, book early!
LEARN MORE: Best Area to Stay in New York City

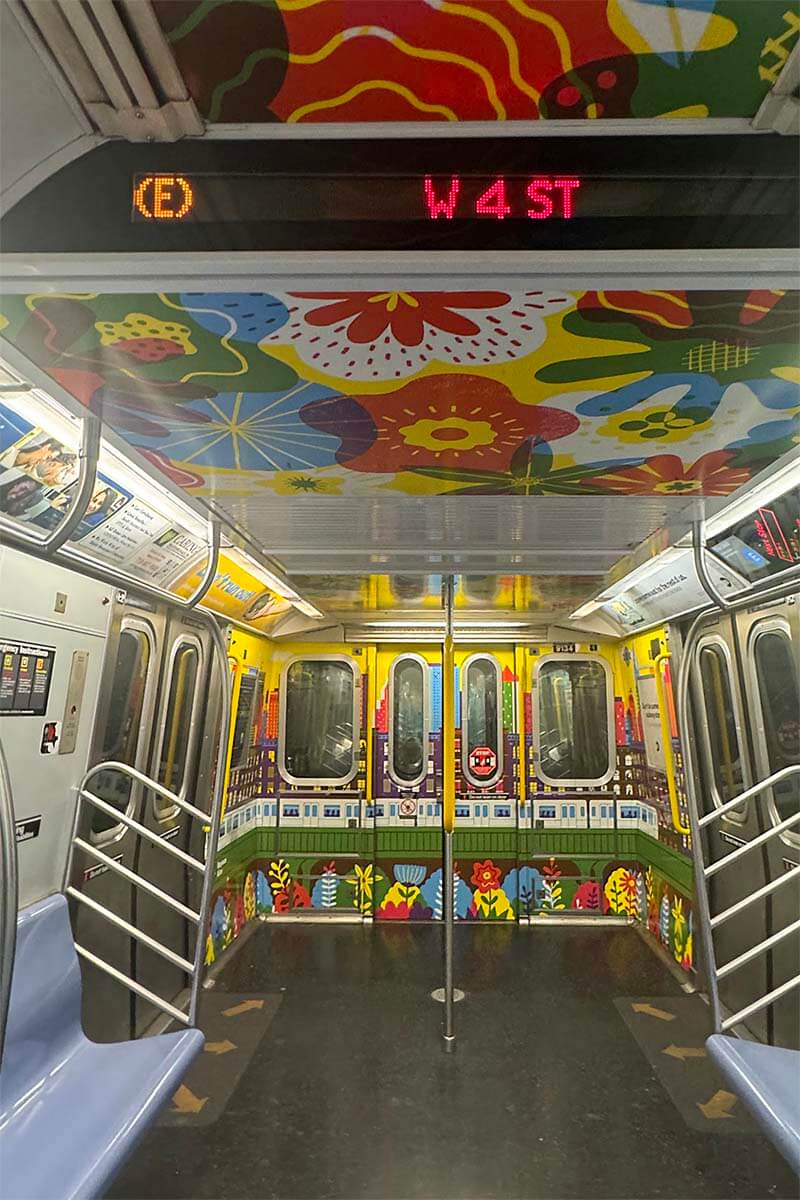
4. Use the Subway
The New York subway can feel chaotic at first, but once you get the hang of it, it’s by far the fastest and most budget-friendly way to get around. It runs 24/7, covers all boroughs, and costs just a few dollars per ride.
You don’t even need to buy tickets anymore – just tap your credit card or phone at the turnstile. It’s super convenient.
TIP: Use the official website or Google Maps to plan your routes (the latter is a lot more convenient on the go), and always double-check which direction the train is heading (uptown vs. downtown). Also, skip rush hour if you can, and pay attention to whether a train is local or express – not all trains on the same line stop at every station.
5. Group Activities by Location
New York City is massive, and getting from one part of the city to another can easily eat up a lot of your precious time. One of the smartest ways to make the most of your visit is to group activities by neighborhood or area.
For example, if you’re visiting the Statue of Liberty, combine it with nearby sights like Battery Park, the 9/11 Memorial & Museum, and the Financial District. If you’re heading to Central Park, pair it with nearby museums like The Met or the American Museum of Natural History, or do some shopping on 5th Avenue.
TIP: Before your trip, take a few minutes to study the map and cluster your must-sees into logical zones. This will save you hours on transport and help you avoid zig-zagging across the city. Always check actual travel times, not just distances – some areas that look close on the map can be surprisingly hard to get between.
For example, on our recent visit, we wanted to explore the main landmarks of Brooklyn and do a street art tour. At first, we thought we could easily do it all in one go. Luckily, we realized in time that these spots were in completely different parts of the neighborhood – more than three miles apart with no direct subway connection. Even though it was all “in Brooklyn,” it made more sense to split those into separate days.
READ ALSO: NYC Itinerary for Up to 1 Week

6. Book Popular Attractions in Advance
Some attractions in New York require advance planning – especially the Statue of Liberty, Broadway shows, sports events, and viewing platforms.
As a general rule, if there’s something you really don’t want to miss, book it as soon as possible. This also counts for restaurants – many popular places have to be reserved well in advance.
Here are some of the most popular NYC experiences that are best reserved in advance:
- SUMMIT One Vanderbilt.
- Empire State Building.
- Top of the Rock.
- Edge.
- One World Observatory.
- Broadway shows.
- Helicopter tours.
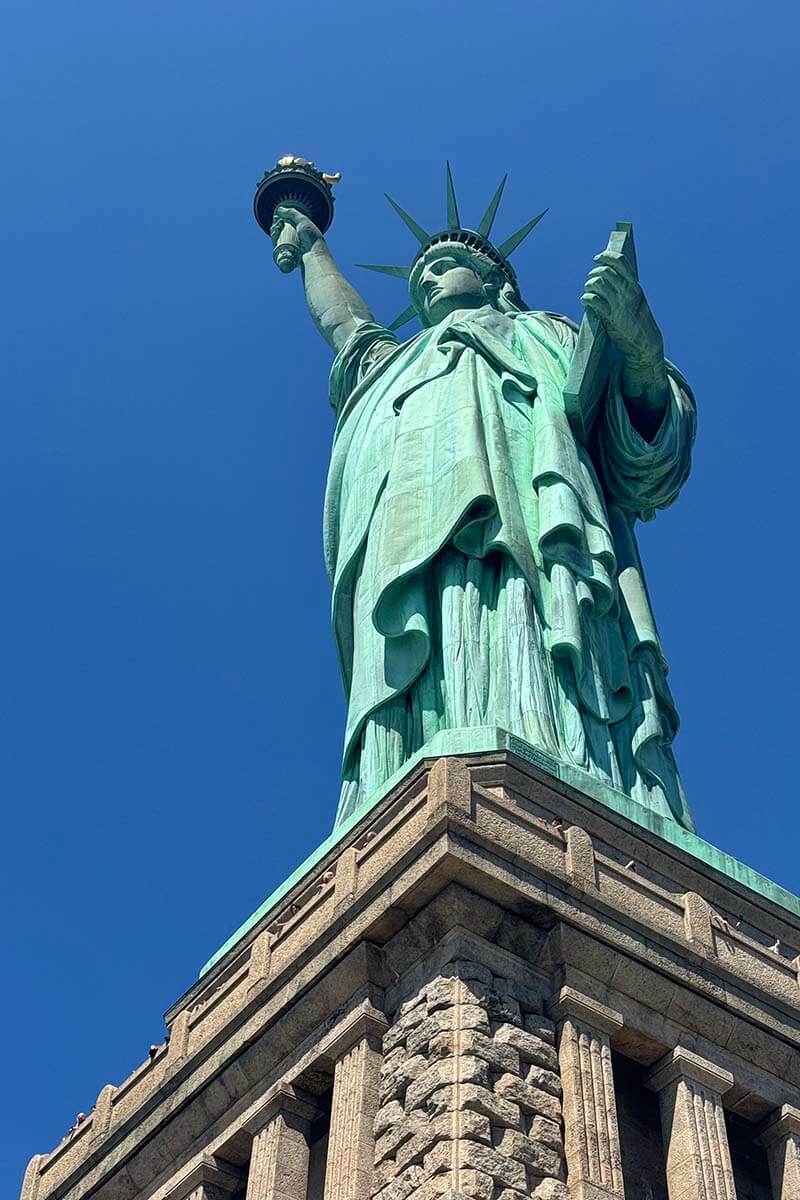
- Statue of Liberty tickets (especially for pedestal or crown access).
- Tickets for concerts, NBA basketball games, etc.
TIP: Check the Ticketmaster website to see what’s happening in NYC during your travel dates. In addition, HelloTickets also has a good selection of tickets for the top shows, sports games, and concerts.
Good to know: Even if you’re using a city pass, some attractions still require booking a time slot (and popular ones can fill up quickly). Always double-check the fine print and plan well ahead. On a recent visit, we used the New York Explorer Pass, and it was super easy to plan and book everything via the app.
READ ALSO: Tips for the Statue of Liberty
7. Avoid Public Holidays & Holiday Weekends
If you are somewhat flexible, try to avoid visiting NYC during major US holidays or long weekends (e.g. Memorial Day, July 4th, Thanksgiving weekend, Christmas – New Year…).
Tourist areas get crowded, hotel prices skyrocket, and some attractions may have limited hours.
Good to know: Weekdays are generally quieter at museums and popular attractions. If you must visit during a busy period, start your days early to beat the crowds.
READ ALSO: What It’s Like to Visit NYC in Late Fall

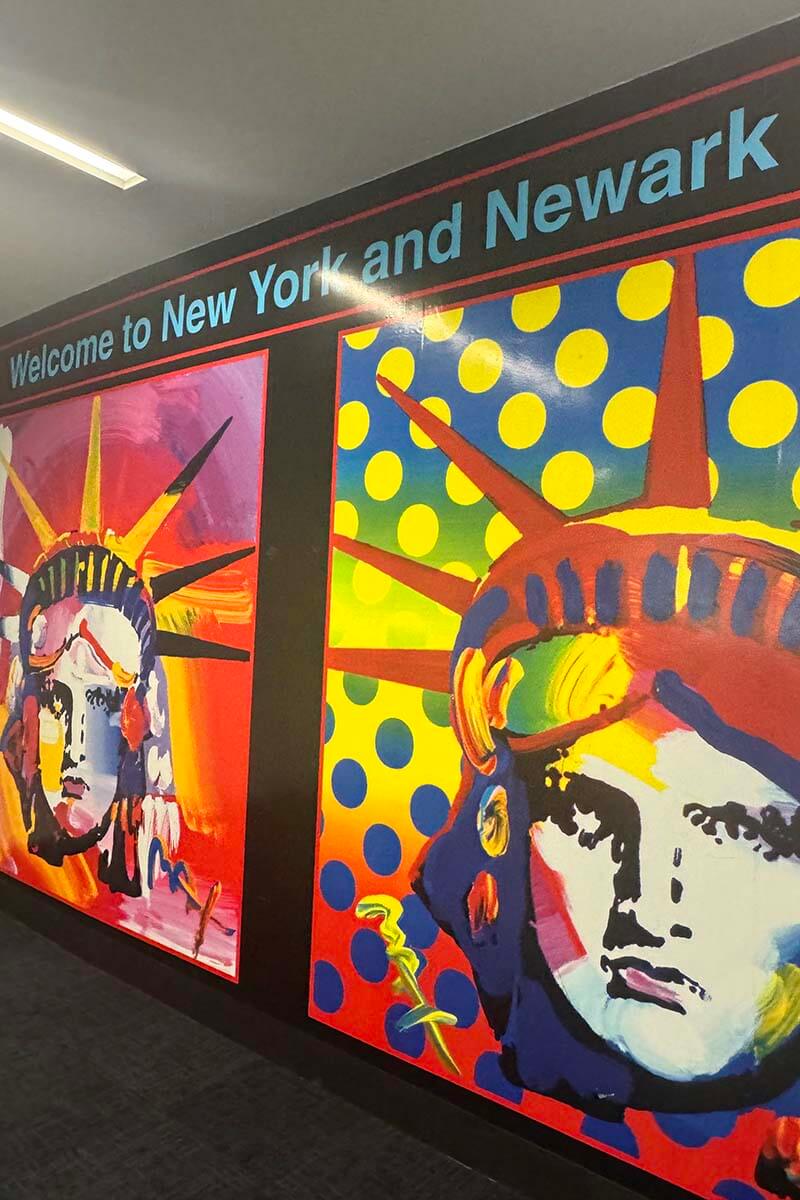
8. Consider Alternative Airports When Traveling to NYC
Most tourists visiting New York City for the first time fly into John F. Kennedy International Airport (JFK). But depending on where you’re coming from, Newark Liberty International Airport (EWR) or LaGuardia (LGA) can be just as convenient – and often faster and cheaper.
Newark is in New Jersey, but don’t let that put you off. It’s well-connected to Manhattan by train. The whole trip takes less than an hour, and you’ll arrive right in the heart of the city. JFK is accessible by subway, but it usually takes a bit longer, plus, the airport itself is one of the busiest in the country. LaGuardia (LGA) is the closest to Manhattan, but public transport connections aren’t as good, so travel time is similar.
If public transport feels overwhelming – or you’re traveling with kids or heavy luggage – consider booking an airport transfer. There are reliable options for both private and shared rides from all three airports, and it’s often cheaper than taking a taxi. Compare prices and book in advance – it can save you time, hassle, and money, especially after a long flight.
Good to know: If you’re flying into the U.S. from abroad, border control at JFK can take 2-3 hours. Newark, in our experience, tends to be much faster and less crowded. To give you an idea: on our last trip to NYC, a friend and I landed at the same time, but at different airports. She flew into JFK, and I arrived at Newark. By the time she made it to the hotel, I had already been there for over two and a half hours.
TIP: Stay near Penn Station – it’s central, well-connected to all three airports, and a great base for sightseeing. On one visit to New York, I stayed at Fairfield Inn & Suites by Marriott New York Midtown Manhattan/Penn Station. On a recent trip with the whole family, we booked the Fairfield Inn & Suites by Marriott New York Manhattan/Times Square South. Both these hotels are just a few minutes walk from the station and both offer excellent value for the location.
9. Don’t Underestimate How Expensive NYC Is
NYC is one of the most expensive cities in the world, and you’ll feel it in your budget for food, transportation, attractions, and accommodation. One of the most common mistakes when traveling to New York is underestimating daily expenses. Plan realistically and build in some extra room for things like shopping, tips, and spontaneous stops along the way.
Even a very casual lunch can set you back $20–30, museum entry costs $25–30, and the tickets to viewing platforms and other attractions start at $40-60. Accommodation prices vary greatly depending on the travel period, hotel, and room type, but expect at least $250–400 per room per night in Manhattan during most of the year. In busy periods, it’s often difficult to find anything under $400-500.
TIP: To get a realistic estimate of accommodation cost, it’s best to check current prices for your travel dates on websites like Expedia or Booking.
Good to know: Luckily, not everything you do in New York has to cost a fortune. There are quite a few free and low-cost activities – you’ll find some suggestions below.
10. Take Advantage of Free and Cheap Activities
NYC has so much to offer, and some of the most unique, local experiences don’t cost anything.
Some of my favorite free things to do in New York include walking the High Line, visiting Little Island, exploring Central Park, browsing local markets, or simply exploring neighborhoods like Greenwich Village, Little Italy, Chinatown, DUMBO or Brooklyn Heights.
You can also ride the Staten Island Ferry, check out Grand Central Terminal, visit the 9/11 Memorial, St. Patrick’s Cathedral, etc.
Also, some NYC museums offer free entry on certain days or evenings, and some, like the American Folk Art Museum or the Museum at the Fashion Institute of Technology (FIT) (to mention just a few), are completely free of charge.
TIP: Do some research and check the official websites of museums before your visit to find out when deals or discounts apply. In some cases, even free tickets have to be reserved. That said, the most popular world-class museums like MoMA or the Met nowadays only offer free visits to local/state residents.

11. Bring Some Cash
Pretty much all places in NYC accept cards and digital payments, but it’s still smart to carry a bit of cash. Some small vendors, food trucks, or locker rentals (e.g. at museums or attractions) might require cash.
For example, we had to use lockers at the Statue of Liberty (for the crown access, where no bags or even purses are allowed), and they required quarters. My friend, who was traveling cashless, would have been completely lost; luckily, I had some change on me.
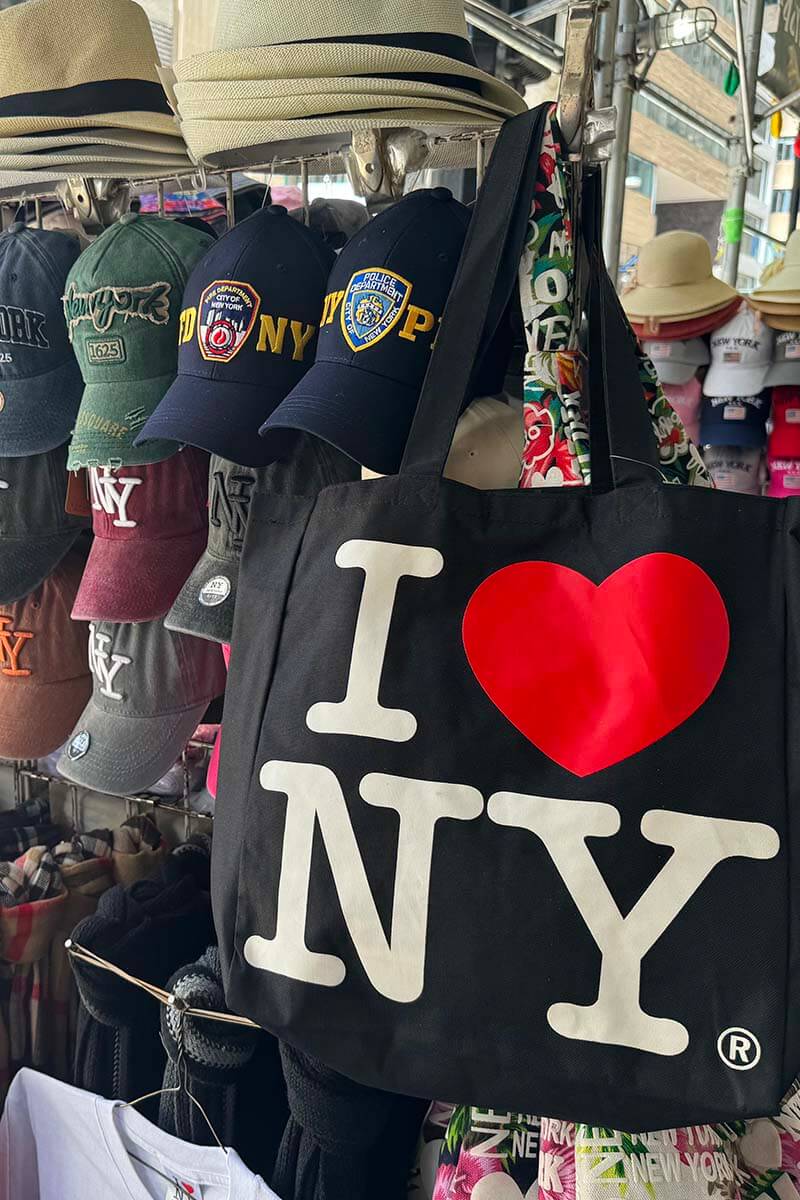
If you want to buy some souvenirs on the street, you’ll also need cash (don’t forget to haggle ;)).
TIP: $50-100 in small bills and some coins should be enough for emergencies, tipping, or places that don’t take cards.
12. Be Prepared for Security Checks
Many NYC attractions – including museums, observation decks, and even the ferry to the Statue of Liberty – have airport-style security checks. Your bags will be searched, and sometimes, you’ll go through metal detectors.
So don’t bring anything you don’t absolutely need, and leave all the sharp items and guns behind.
TIP: Avoid carrying large bags, and bring a small daypack or a crossbody bag instead. It’ll save your shoulders and speed up entry. Plus, the smaller the bag, the fewer chances that you will have to leave it behind in a locker. I took my Hedgren crossbody bag to NYC and only had to leave it once (at the Statue of Liberty Crown).
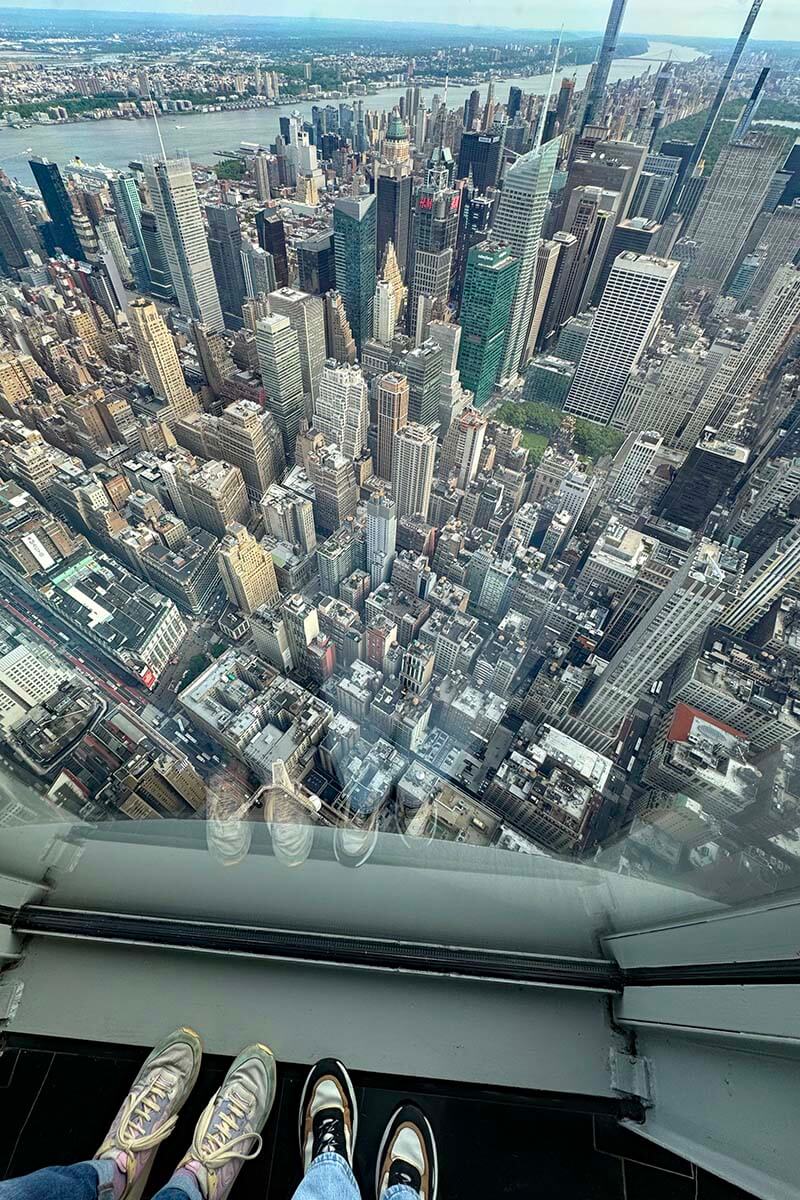
13. Don’t Miss the Best Viewing Platforms
There is no better way to appreciate the iconic New York skyline than seeing it from above. Manhattan has five major viewing decks: the Empire State Building, Top of the Rock, One World Observatory, Edge, and SUMMIT One Vanderbilt, and the views are spectacular from all of them.
Each skyscraper has its own vibe: Top of the Rock offers the best view of central Manhattan and Central Park, while Edge and SUMMIT give you a more modern experience. The Empire State Building is the most iconic, and One World Observatory offers unique views of Lower Manhattan and Brooklyn.
In all honesty, you can’t go wrong with any of them, and if you have time and budget, try visiting at least a few (we’ve done them all). But if you can only visit one, I recommend picking based on location and timing that best suits your itinerary.
TIP: SUMMIT One Vanderbilt is currently one of the most popular observatories in NYC. With its mirrored rooms, immersive art installations, and fun photo spots, it’s easily the most Instagram-friendly viewing deck in the city. If you’re planning a family trip, see our guide to visiting NYC with teens for more teen-approved attractions.
PRO TIP: Check availability and reserve tickets in advance, especially for sunset slots – they often sell out. And – even in the summer – bring a sweater or a light jacket; it gets windy up there!
For more details, tips, and photos to help you choose, please see our detailed guide via the link below.
LEARN MORE: Best Viewing Platforms in NYC

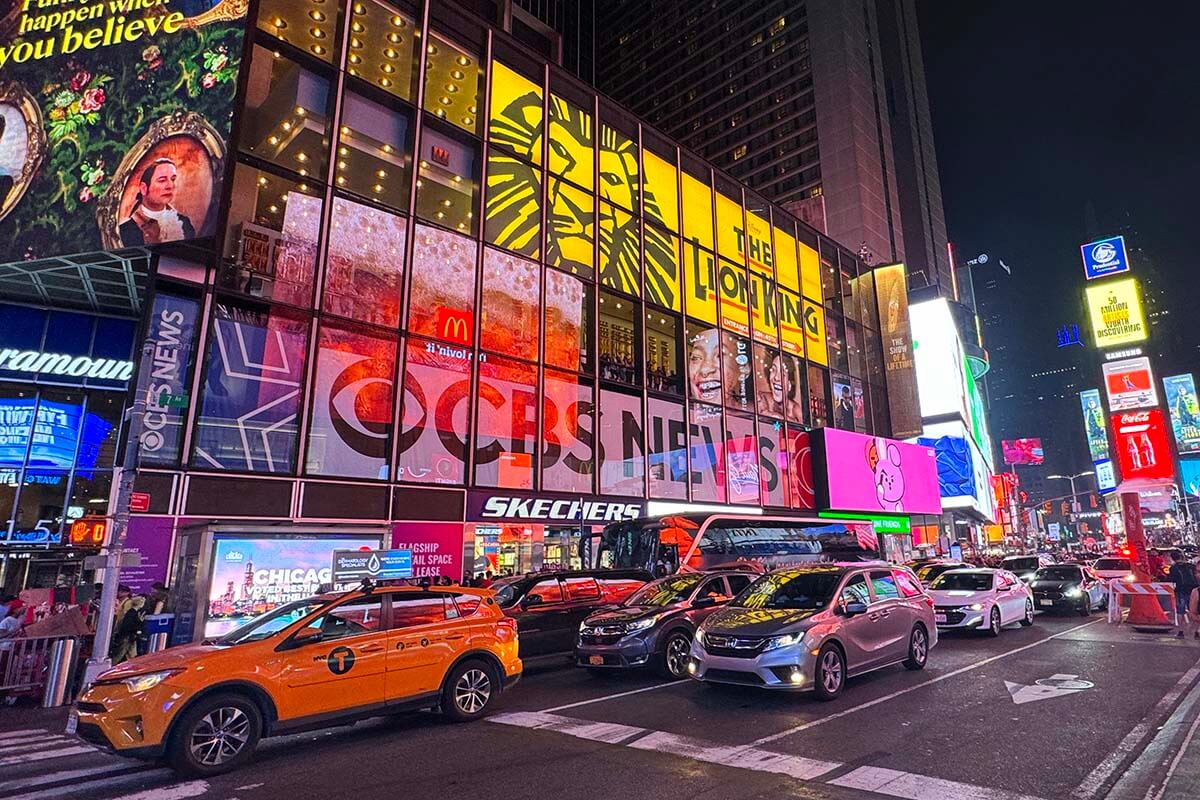
14. See a Broadway Show (or a Few!)
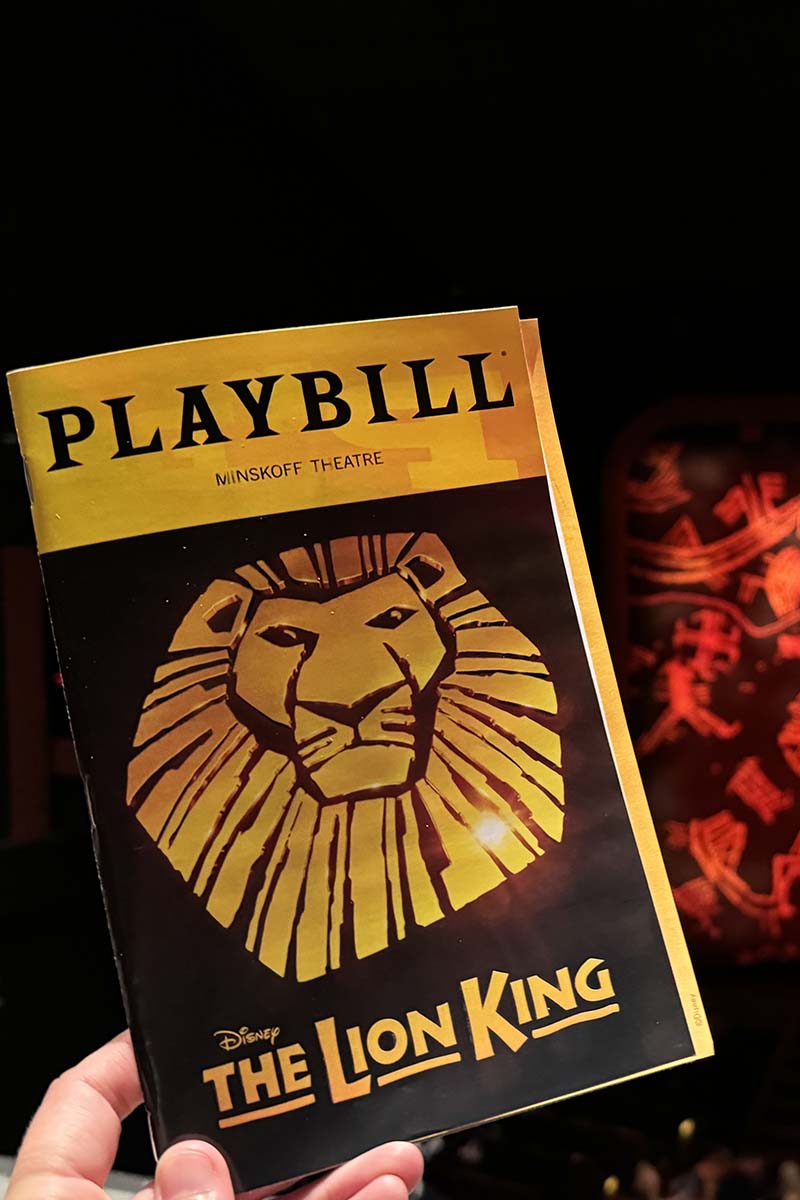
Seeing a Broadway show is one of those bucket-list experiences that truly defines the city that never sleeps. No trip to New York feels complete without at least one show!
On our recent visit, we saw two Broadway performances, plus a concert at Madison Square Garden and a Brooklyn Nets game. We had something planned every evening, and it was exactly those nights that made the NYC trip so special for us. You simply don’t get those kinds of experiences at home.
You don’t have to love musicals to enjoy Broadway; there are also theater shows with less singing (like Harry Potter and the Cursed Child). Either way, the quality of the performances, sets, and atmosphere is unlike anything else. If you’re unsure what to see, long-running shows like The Lion King or Chicago are popular for a reason. Looking for something new? The Great Gatsby is one of the most recent additions. We also really enjoyed the quirky and very woke & Juliet.
TIP: For tickets, we booked everything through HelloTickets and GetYourGuide. HelloTickets offers a wide selection of top shows, concerts, and sports events across NYC. GetYourGuide also has competitively priced tickets for the most popular shows.
You can also try to get same-day discounted tickets via the TKTS booth in Times Square. But availability isn’t guaranteed, and the cheaper seats often have limited views. Plus, you risk missing the show because of the crazy long lines here. So don’t leave it to the last minute if there’s a show you’re set on seeing. Also, watch out for scammers and only buy tickets from official sources or trusted resellers.
Good to know: Weekday shows are usually a bit cheaper than on weekends.
READ ALSO: Best Musicals to See on Broadway
15. Skip the Hop-On-Hop-Off Buses (or Don’t Hop Off)
Sightseeing buses might seem like a convenient way to explore the Big Apple – and they can be, but only if you use them the right way. The truth is, once you hop off to actually visit something, half a day is over, and you realize you hardly used your 24-hr ticket…
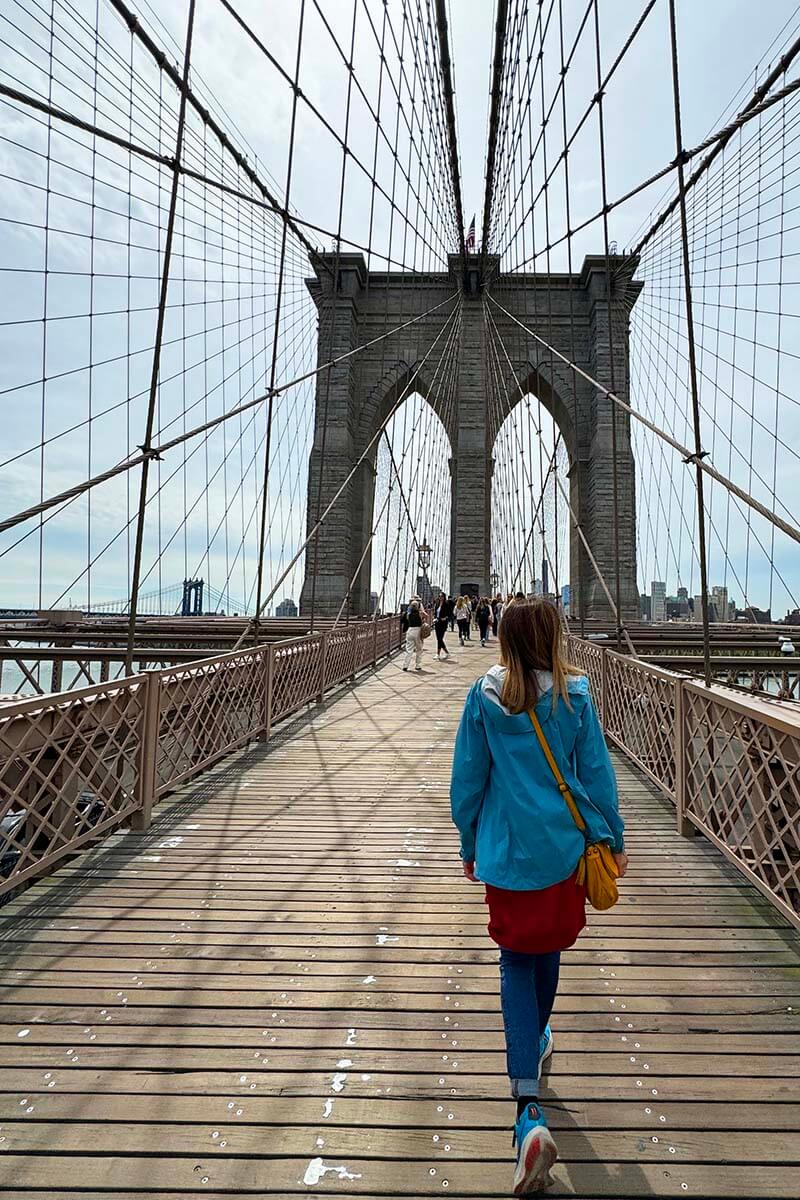
For getting between different attractions, a subway ride or even a taxi is faster and cheaper. Often, it’s even better to simply walk. And some places – like The High Line or the Brooklyn Bridge, for example, can only be explored on foot and/or by bike.
That said, ho-ho buses can still be a good option if you stay on board the whole time. They give you a relaxing, guided overview of the city – great for your first day to get your bearings and decide which places you want to explore later.
TIP: If you want a guided intro to NYC, consider a bike tour, a boat cruise, or a walking tour. These options give you a more up-close and personal feel for the city, with less time wasted in traffic, and often at a lower cost.

16. Dress for Walking & for the Weather
No matter how well you plan your itinerary, you’ll walk a lot in NYC. Even when you use the subway, you’ll still clock several miles a day. Comfortable shoes are a must!
Also, check the weather forecast before you go and pack accordingly. New York summers are very humid, while winters can be freezing. Don’t forget sunscreen and sunglasses in the summer and gloves and hats in the winter!
Fall and spring can be great times to visit. See our guide to visiting NYC in late fall for what it’s like and seasonal tips.
Good to know: Layers are your friend in any season. Even in the summer, you may want to carry a light sweater for the viewing platforms, not to mention the freezing cold air conditioning at some places.
17. Stay Connected & Download Helpful Apps
Many attractions in NYC offer free Wi-fi, which can be super useful if you are visiting from abroad. But don’t count on it, and make sure you can stay connected during your trip (an e-Sim with enough data is a must for international visitors!). You’ll need your phone for everything – from getting around to paying for the subway or showing your digital entry tickets, etc.
Apps like Google Maps, Citymapper, and Subway Time are super helpful for getting around. For food, Yelp or Google Reviews are super helpful for checking restaurant reviews on the go.
PRO TIP: Mark attractions and places you want to visit on Google Maps and download an offline map before your trip. If you use ‘save to list’ function and mark places as favorites, want to go, or starred places, you see them on the map even without a Wi-fi connection.

18. Check Restaurant Reviews & Avoid Tourist Traps
Avoid eating around Times Square or near major tourist attractions, where prices are high and quality is often low. Some of the best meals we’ve had were in smaller neighborhood spots, food halls, or even food trucks.
Check Google Maps or Yelp reviews before choosing a place, but also remember that other people may have a very different idea of what a good meal is than you (everyone has different tastes and expectations). In general, if the menu has pictures and someone is standing outside calling you in, keep walking.
Don’t leave NYC without trying the famous New York bagels! Other must-tries include the New York-style Pizza and New York-style cheesecake.
TIP: If you want to try local specialties, consider a food tour. Some of the most popular locations for food tours are Chinatown & Little Italy, and Greenwich Village.
Our experience: On a recent visit to NYC, we did this highly-rated Little Italy and Chinatown food tour. It was a great way to explore several local neighborhoods and try different foods. Plus, we had enough food to skip dinner that day.

19. Know When & How Much to Tip
Tipping is a big part of the culture in the U.S. From hotel staff, taxi drivers, to bartenders, waiters, and tour guides – everyone expects a tip.
It’s not always easy to know who and how much to tip, especially if you are coming from abroad, where tipping culture is completely different. Here are some general guidelines for tourists visiting NYC:
- Restaurants: 18–20% of the total bill (before tax). Some restaurants already include a service charge, or try to trick you into tipping 25-35%, so always double-check and be sure you’re comfortable with what you’re tipping.
- Bartenders: $1–$2 per drink, but many expect 10–20% of the total bill.
- Taxis & Uber/Lyft: 10–20% of the fare.
- Housekeeping: $2–$5 per night, left daily (they might rotate staff, so don’t wait until the end).
- Bellhop/Porter: $2–$3 per bag.
- Group tours: $5–$10 per person for half-day tours, more for full-day.
- Private guides: 10% of the tour cost, depending on the quality of service.
TIP: Many places indicate the recommended tip amount on the bill, but it’s up to you to decide how much you want to tip. We were recently presented with a 40% recommended tip at an already overpriced wine bar at Chelsea Market in NYC. Remember that it’s just a suggestion – you really don’t have to tip that much. Most Americans will agree that 30-40% is absolutely outrageous.

20. Explore Beyond the Main Tourist Areas
If you have more than 2-3 days in NYC, don’t just stick to the main areas. To experience New York to the fullest, try to get a bit beyond the tourist zones – even if just for a few hours.
Neighborhoods like SoHo, Greenwich Village, or the Lower East Side offer a totally different vibe with independent shops, amazing food, street art, and a more local, authentic side of the city. If you have more time, check out other parts of Brooklyn, beyond just DUMBO. And in warmer months, a visit to Coney Island can be super fun too.
Good to know: You don’t always need a detailed plan. Pick a neighborhood, start walking, and see where the day takes you. But if your time is limited and you want to make the most of it, doing a bit of research in advance can go a long way. Consider joining a guided tour with a local – it’s one of the best ways to discover cool spots and stories you might otherwise miss.
Here are some nice options that we considered for our trip (and did a few):
- Bushwick Street Art – it’s a great way to explore the quieter side of Brooklyn.
- SoHo, Little Italy, and Chinatown – closer to the center, and super easy to add to any itinerary.
- Ghost Tour of Greenwich Village – learn spooky stories about one of NYC’s most haunted neighborhoods.
- Harlem & Gospel Concerts – not only on Sundays!
- Greenwich Village + Food – one of NYC’s most charming neighborhoods + local eateries.

21. Don’t Try to Do It All
You could live in NYC for years and still not see everything the Big Apple has to offer. Focus on the things that genuinely interest you and don’t feel pressured to tick off every landmark. You’ll definitely want to come back anyway.
TIP: Prioritize 2-3 highlights per day (ideally, grouped per area), and build the rest of your itinerary around them. Leave some room in your itinerary for spontaneous finds. Some of the best NYC memories happen when you least expect them.
Not sure where to start? Check out our one-week NYC itinerary based on a recent trip. It covers all the musts in a rather relaxing way. We did many amazing tours (food, street art, Grand Central Terminal, 9/11, etc.) that made our New York City visit so much more special. The itinerary includes all those suggestions as well.

These NYC travel tips should give you a clear idea of what to expect and how to plan your time wisely. New York is an unforgettable destination, and with a bit of smart planning, you can make the most of every day in the city.
Have a great trip!
FAQ
Plan your days by neighborhood, book major attractions in advance, stay in a central area like Midtown, and budget realistically. Expect crowds, higher prices than most cities, and plenty of walking.
Most first-time visitors need 3 to 5 days in NYC. This gives you enough time to see the main landmarks, visit one or two museums or observation decks, and explore a few different neighborhoods without rushing.
For first-time visitors, Midtown Manhattan is usually the best area to stay. It’s central, well-connected by subway, and within walking distance of many major sights, which saves time and simplifies planning.
Yes, New York City is expensive. Expect high hotel prices, attraction tickets starting around $30–60, and restaurant meals from $20+ per person. Planning ahead and using city passes can help reduce costs.
New York City is generally safe in major tourist areas, especially in Manhattan. Like in any big city, stay aware of your surroundings, avoid empty subway cars late at night, and keep valuables secure in crowded places.
TIP: Planning a trip to New York? Don’t miss our New York City Travel Guide for a complete overview of all our articles about NYC. And don’t forget to bookmark our blog, so that it’s easy to find later!
Found these New York tips helpful? Save this guide for later, share it with your friends, and pin it on Pinterest so you can quickly find it again.